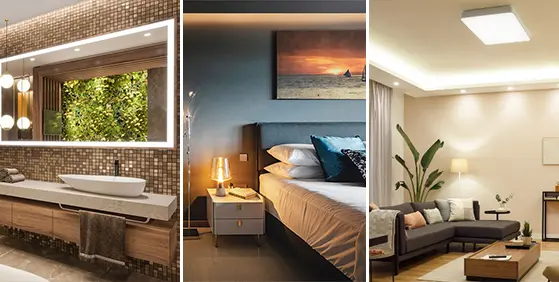
 Modern LED lighting has come a long way over the past few years. Today’s lighting designers are no longer limited to fixing pendants or spotlights on the walls and ceiling.
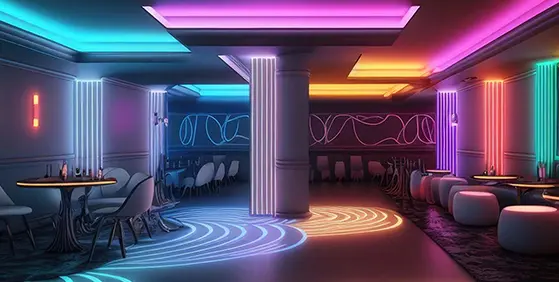
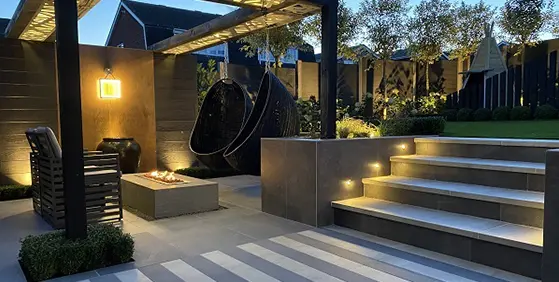
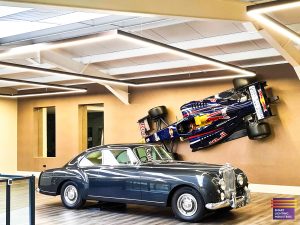
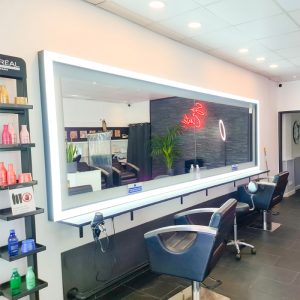
Low-profile LED lighting strips allow designers to create an almost unlimited range of designs. Lighting can now be hidden in recesses, used to highlight skirting boards, architraves and balustrades or run around the ceiling in an intricate pattern.
LED lighting strips can be fixed directly to the surface, but an LED profile provides a more durable installation method. In this guide, we are going to look at what an LED profile is, why you need it, the different types of profiles available and how to install it.
What is an LED light profile?
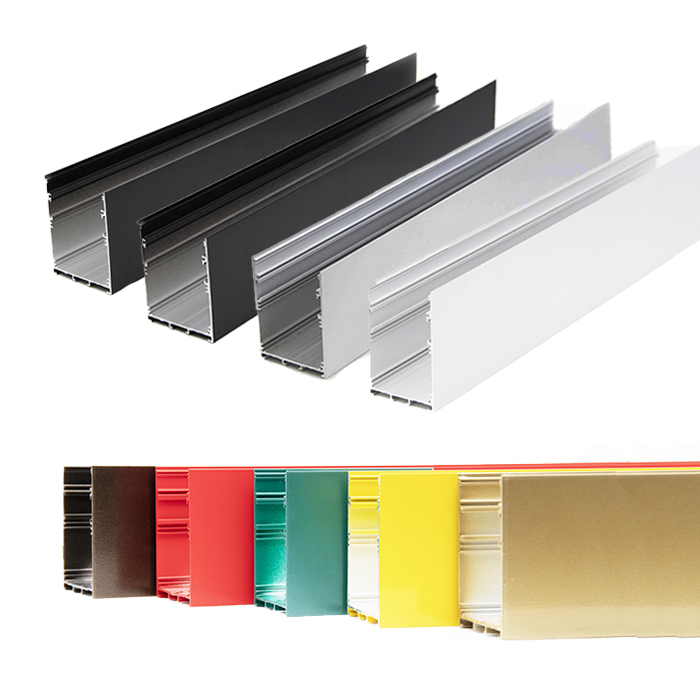
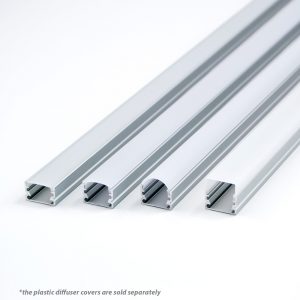
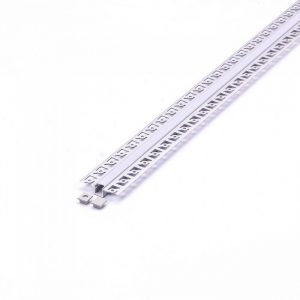
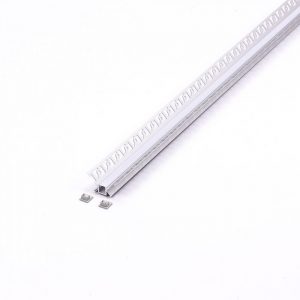
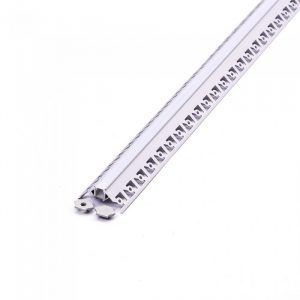
LED light profile is basically a thin strip of aluminium extrusion that can be used as a fixing point for adhesive LED strips. The profile is available in a range of widths, depths and lengths allowing you to create an almost unlimited range of designs.
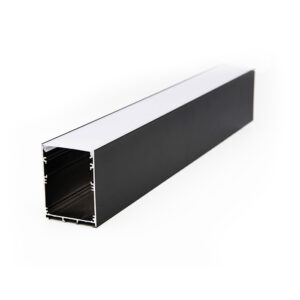
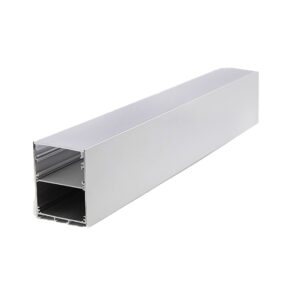
LED aluminium profiles can be sunk into plasterboard, integrated into kitchen cabinets, wardrobes and bookshelves, run around skirting boards or used to build a bespoke wall and ceiling light.
Because they are fabricated from strips of aluminium extrusion, there really is no limit to where or how you use them.
Do I need an LED profile/extrusion?
Most LED strips come with an adhesive backing that allows them to be fixed directly to almost any surface. However, this is not the most durable way of installing LED strips and it limits installation methods somewhat.
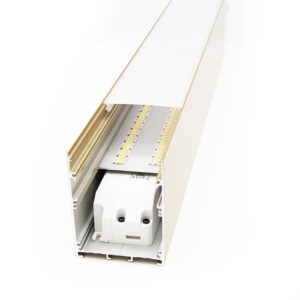
LED profile allows the strip to be installed in more imaginative ways such as sunk into plaster or fitted inside kitchen cabinets. Most profiles can also be fitted with a diffuser allowing a more diffused uniform light source along its entire length.
Profiles can also be screwed to the surface, rather than glued, which creates a more durable lighting system. While the aluminium acts as a heat sink for the LEDs, helping to keep them cool and improve reliability.
How to choose an LED profile?
With so many different types of LED profiles available it can be difficult to know which one to choose. This next section will help ensure you get the right profile for the job:
Do you need protection?
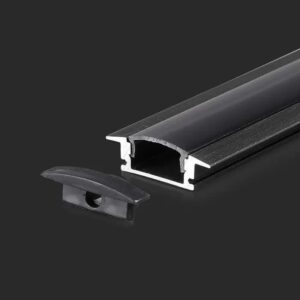
LED lighting that is to be installed in an area where the public has access or where durability is required, should be protected with surface mount extrusion.

Do you want recessed lighting?
LED lighting that is to be recessed into the floor or ceiling will need to be installed using a recessed LED profile. These are available in a range of widths and depths to meet a range of installation options.

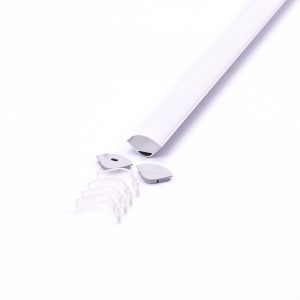
Do you want to create a diffused light source?
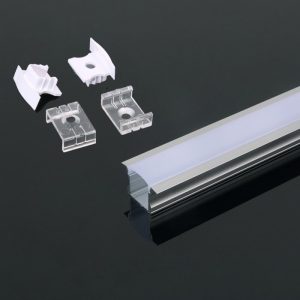
Diffusers can be fitted to most LED profiles, to diffuse the light from the individual LEDs. This creates an unbroken light source across the entire run. Diffusers are available in a range of sizes, shapes and colours.
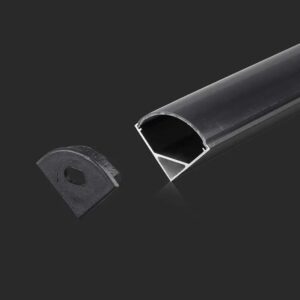
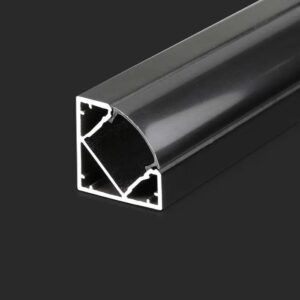
Do you want to install LEDs in the corner of a ceiling or wall?
Mounting LED strips in the corner of a wall or ceiling will require special corner-mounted LED profiles. These are available in a range of sizes and shapes and are suitable for mounting all types of LED strips.
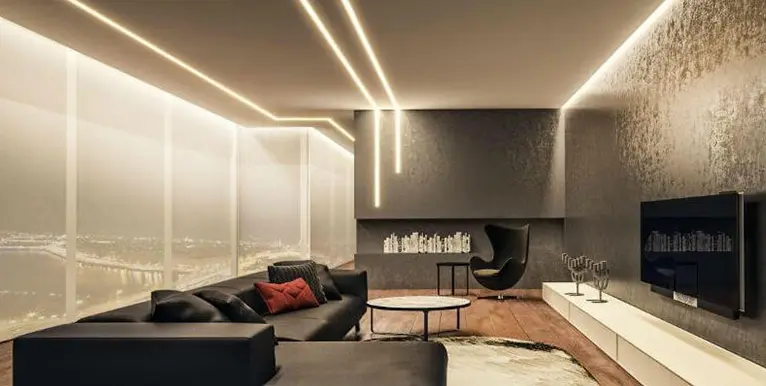
Do you want to integrate your lighting as an architectural feature?
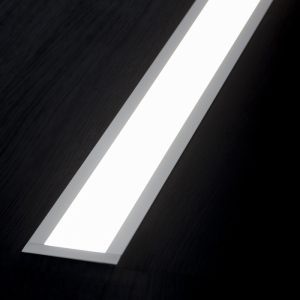
Plaster-in LED profile allows you to integrate your LED lighting system into the ceiling or walls. This creates a contemporary seamless look where the lights are almost invisible when turned off, but create a striking architectural feature when turned on.
Smart Lighting Industries supply a range of LED profiles and accessories. Options include a collection of surface mount and plaster-in profiles which are available in various sizes suitable for all types of projects. Check out our collection online.
How to install LED profiles?
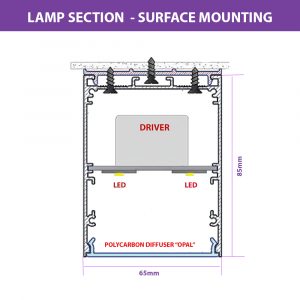
Surface mount LED profile
- Mark out where the profile is to be installed using a laser level. Start by fabricating the corners. These should be cut at both ends of the profile at 45º to create a perfect 90º angle. Then cut the rest of the profile to length as required using a hacksaw or multitool.
- Install the profile in the wall, recess or cabinet. Drill holes in the profile approximately 300mm apart and fix the profile with 5mm countersunk screws. Some profiles require brackets to be installed first. These should be placed 300mm apart.
- With the profile in place, you can install the LED strip. Peel off the self-adhesive strip, place it into the extrusion and press firmly. For the corners, use corner connectors or butt two strips together. DO NOT fold the tape, this can damage the connections.
- If a diffuser is to be fitted, cut the diffuser sections to match the profile. Then clip the diffuser on top. Leave the protective film in place until any painting and plastering have been finished.
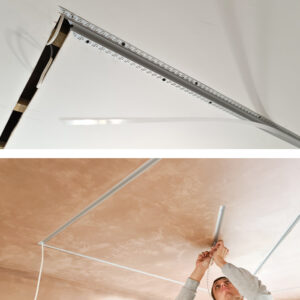
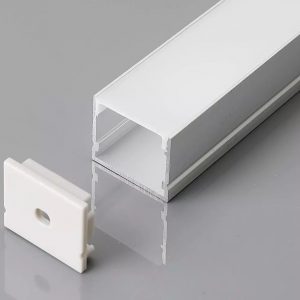
Plaster-in LED profile
Plaster-in LED profile allows LED strips to be recessed into a stud wall or ceiling. The profile comes in lengths up to 2.5m and a range of widths allowing you to create a variety of shapes.
- First, mark out the LED Aluminum channel where the LED profile is to be installed. This can be done using a laser level or the traditional level and rule method. Then cut the LED channel into the plasterboard using a multi-tool or chasing machine. Note: The width and depth of the channel will be determined by the size of the profile being used. See the enclosed manufacturer’s data sheet for details.
- Cut the profile to length. Fabricate any corner angles using the same method as used for the standard profiles (see above). Then fix the profile into the channel using countersunk screws. Fixings should be placed every 300mm.
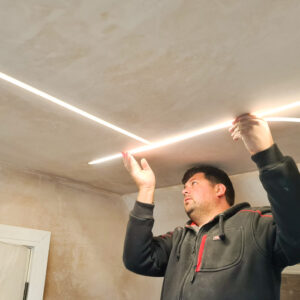
- Once the profile is fixed in place, install the LED strip using the same method as with the surface-mounted profile. Then cut the diffuser sections to length and clip them on top of the profile. Remember to leave the protective strip in place.
- Now it’s ready to be plastered over. When plastering, run the finishing trowel up against the diffuser, but try not to cover the diffuser itself. Leave the protective strip over the diffuser until all plastering and painting are complete.